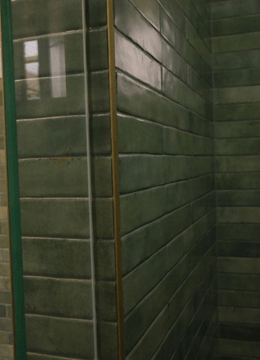
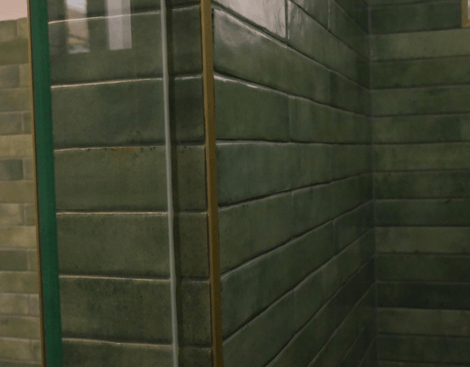
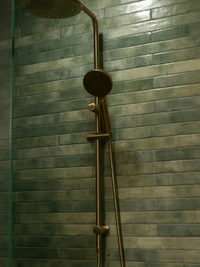
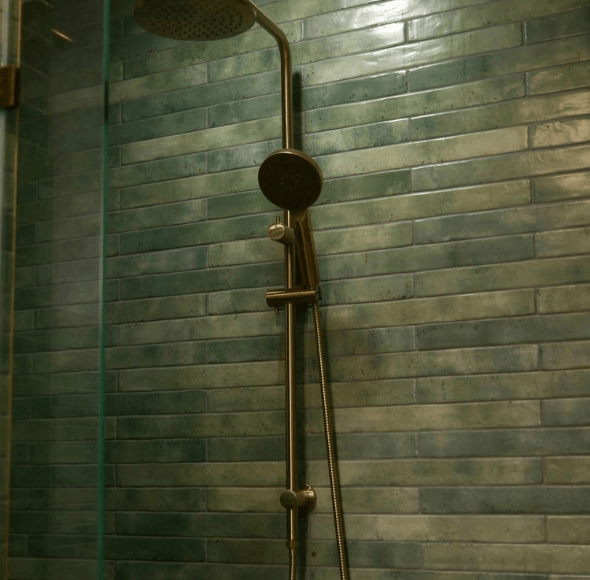
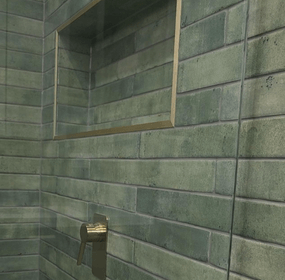
The client brief called for a bold, character-filled bathroom using elongated 450mm × 45mm green glazed tiles applied as a continuous feature across the wet areas, paired with a classic black-and-white checkerboard floor. The intent was a heritage-meets-contemporary finish, with the green tile as the hero element running uninterrupted through the space.
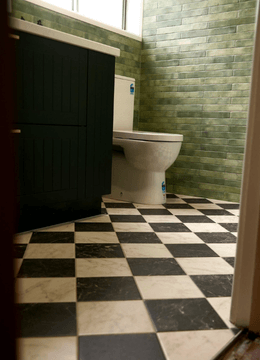
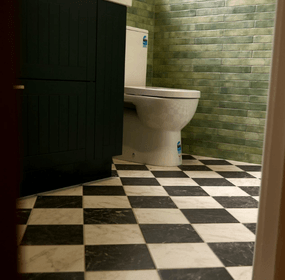
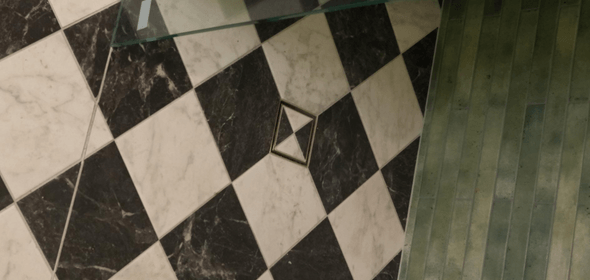
The client wanted checker-board tiles for the floor giving the bathroom a heritage and vantage character, of course being a very old house we had some challenges with the floor.
We grinded the floor to make it as level as possible, given the tiles were roughly 200 mm by 200 mm.
To make the floor level we our laser at the bottom of the wall and measure the floor depth according the laser.
We had to calculate the floor width and length and find the exact center of, and then make a perfect cross with the laser and install our tile in a 45 angle in 4 direction going out. This strategy gave us perfect, identical pieces on every end of the floor, you can see in these photos we have half white cuts on one end of the floor and half black cuts on the other of end of the floor.
The black tiles were slightly bigger than the white tiles about 1.5 mm to 2 mm, we used 3mm and 2mm spacers where needed and play with with tiles so that it does not appear different.
So imagine you walk in to an old house with old exposed bricks in the bathroom walls and look at the tile size for the wall which 45 mm by 450mm. This is almost impossible to install such narrow tiles on exposed bricks.
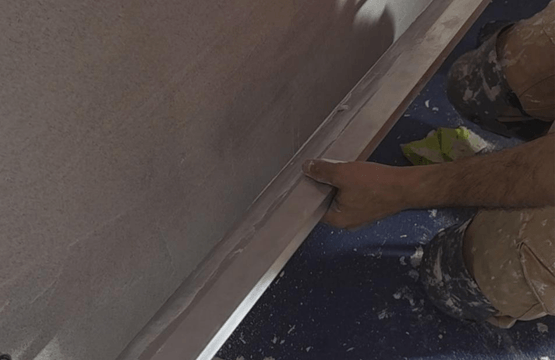
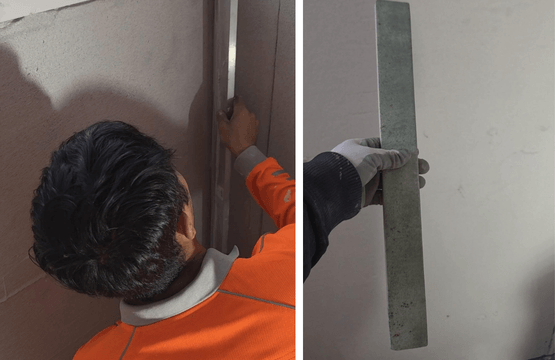
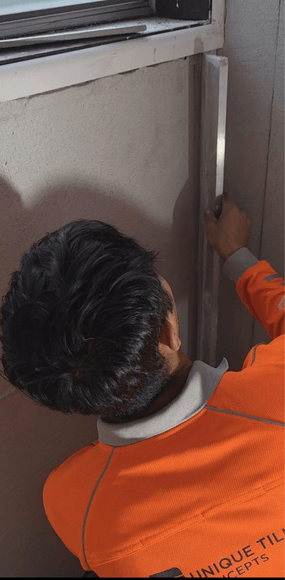
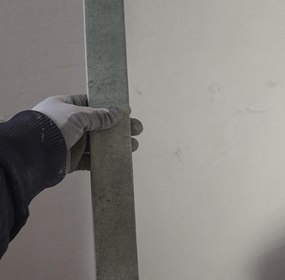
As mentioned before for tiles of this size we need perfect and I mean perfect to the 1 mm level and smooth walls. And here is what we did.
While some of the details we have mentioned earlier might be obvious but there are critical small attention to details that makes the huge difference, these details will require a high amount of focus to be noticed but once you see it, you can not unsee it. Here are some of those finishes.
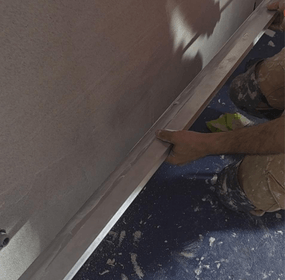
We have have taken knobs physically with us, to bring the exact color match for the trims all around the bathroom.
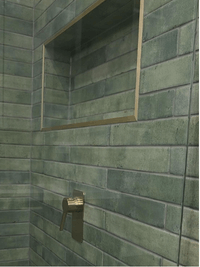
Finishing the with a full just under the niche is our signature move, we have planned the set up in way that we would end up with a full tile.
When viewed directly from the front of the shower niche, the surrounding tiles appear to flow seamlessly into the niche, with the tile pattern continuing through and aligning perfectly with both the upper and lower sections.
We have calculated the distance between the drain insert and the outer tile, and have cut to precise mm, so when you look from above it looks exactly how it would it looked if it was one on each side.
Since we have a couple of walls that had to be perfectly aligned we started with the longest wall is our source and once reaching a certain height we would start from the next wall attached it and so on, thus having perfect lines running through all the walls, and the trims finished in a way that feels one surface with the tile.